Manage Users
Users are how people log into a workspace. This page covers how to invite them, what the available roles mean, and how to change or remove access later.
Roles
| Role | What they can do |
|---|---|
| Admin | Everything: users, licensing, workspace settings, server health, all automations, all models, all knowledges. |
| Manager | Build and edit automations, models, knowledges. Can also invite users (typical "team lead" capacity). |
| Editor | Build and edit automations, models, knowledges. Cannot manage users or licensing. |
| Monitor | Read-only view across the workspace. For auditors, stakeholders, or junior staff in training. |
| AgentUser | Use the Inbox only — chat with agents, pick up tasks. Cannot see the editor at all. |
Higher roles include the lower ones. An Admin can do everything an Editor can; an Editor can do everything a Monitor can; and so on.
The recommended baseline:
- One or two Admins per workspace.
- A handful of Editors or Managers who build automations.
- The rest as AgentUser — they only ever see the Inbox.
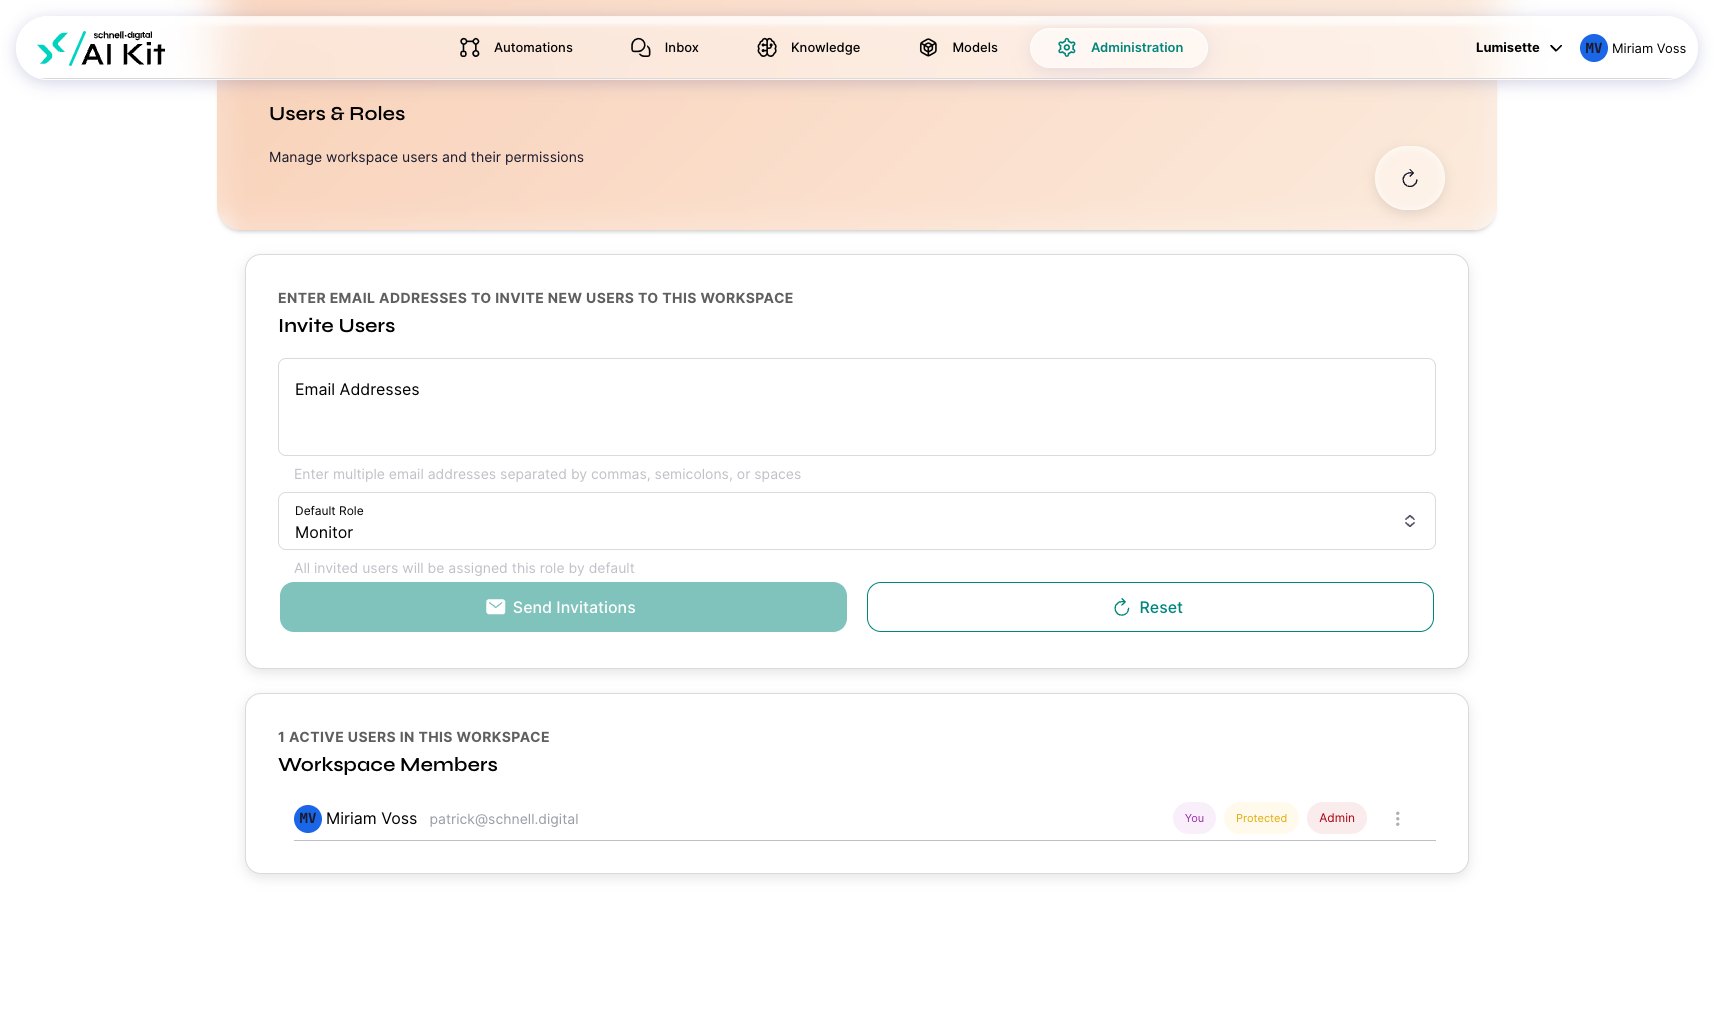
Inviting users
- Open Administration → Users & Roles.
- In the Invite users area at the top, type one or more e-mail addresses separated by commas.
- Pick the Default role for the invitations. Every address in the list will receive an invitation with that role. (You can change individual roles later.)
- Click Send invitations.
Each invitee receives an email with a link. When they click it and log in for the first time, they complete their profile (see Inbox → First Login) and arrive in your workspace.
You can leave the page after sending — the invitations are dispatched asynchronously.
Viewing the user list
Below the invite area, the page lists every user in the workspace. For each user you see:
- Name (or email if they haven't completed their profile yet).
- E-mail address.
- Role.
- Last login.
- Status (active, invited but not yet accepted, suspended).
Changing someone's role
- Open the kebab menu (three dots) on the user's row.
- Pick the new role from the list.
The change takes effect on the user's next page load. Active sessions do not need to be killed.
Removing a user
- Open the kebab menu on the user's row.
- Click Remove user.
Removing a user revokes their access to this workspace. If they belong to other workspaces, they keep access there. The user's account itself is not deleted — that requires a separate operation.
Any automations the user created remain in place. They are not owned by an individual; ownership is per-workspace.
Recommendations
- ✅ Use Editor as the default role for new builders. Promote to Manager only if they also need to manage users.
- ✅ Invite people in batches. The platform sends one email per address.
- ✅ Keep at least two Admins per workspace. Single-Admin workspaces become locked if that person leaves.
- ✅ Review the user list quarterly. People change roles inside the organization more often than they get pruned from systems.
- ⚠️ A user with the Manager role can invite further users — including granting them Admin role. Choose Managers carefully.
- ⚠️ Removing a user does not delete their historical activity. Past jobs they ran are kept.
- ❌ Do not share user accounts. Conversations and ownership are per-user; sharing breaks the audit trail.
Frequently asked questions
The invited person says they did not receive the email. Check the spam folder first. If after a few minutes there is still nothing, Resend invitation from the kebab menu on the user's row.
Can a user belong to several workspaces? Yes. Invite them in each workspace. They switch between workspaces from the top toolbar.
Can a user have different roles in different workspaces? Yes. The role is per-workspace.
What to do next
- Manage your Workspace — the workspace's own settings.
- Licensing — quotas including the user quota.